Making your app work when offline
You can embed your app definition in your build output so that your app works without network connectivity. Note that once you make this change, you will not have the ability to change the app from Ensemble Studio.
Prerequisites
- You have completed the Prepare your app for deployment step.
- You have a text or code editor on your machine. We recommend VS Code (opens in a new tab).
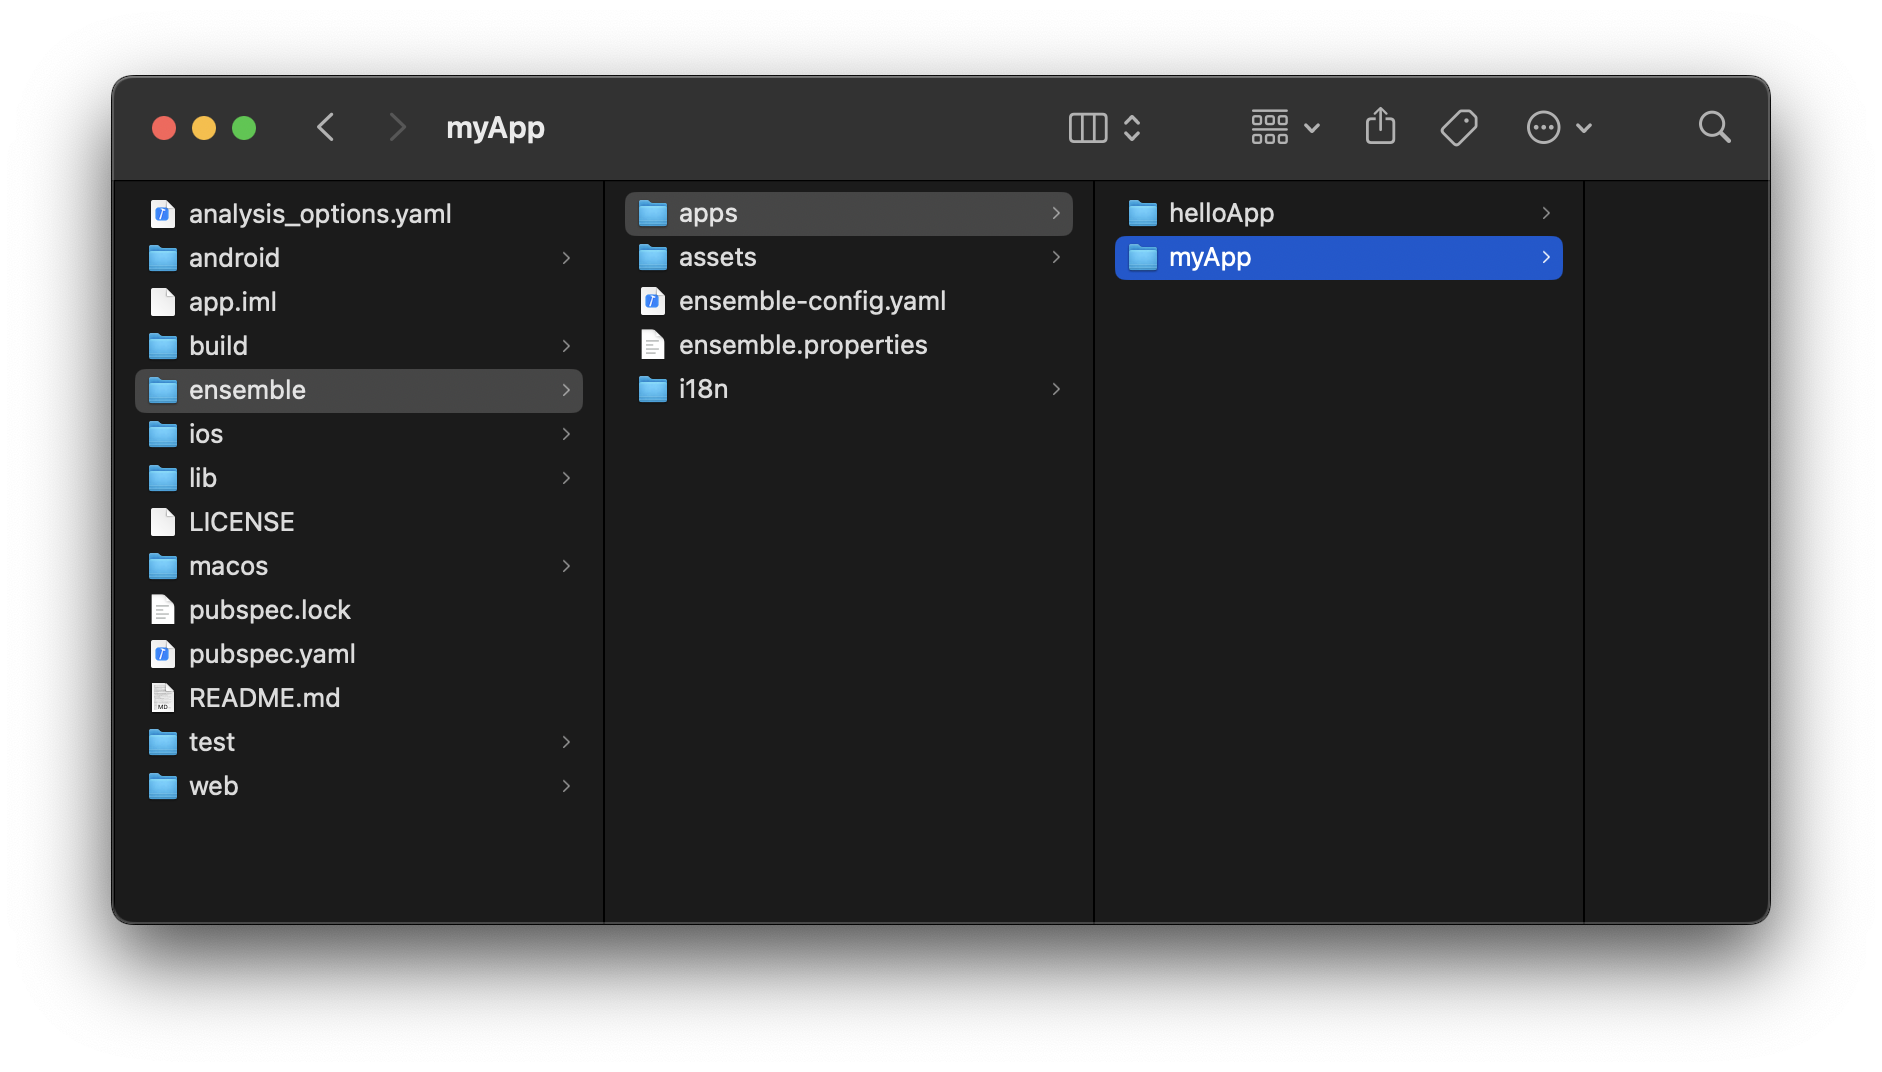
Step 1. Create a folder for your app
In your local directory where you cloned Ensemble Starter, navigate to /ensemble/apps folder. Create a new folder with your desired name, and no spaces.
This name will not be customer-facing.
Step 2. Copy your app artifacts
To work in local mode, you can obtain your app artifacts from either Ensemble Studio or the Desktop app.
Option 1: Downloading Artifacts from Ensemble Studio
- Open Ensemble Studio.
- Click the
...menu button for your app. - Select Download Beta to download all the app artifacts.
- Once downloaded, locate the app folder.
- Copy the entire folder (with the above structure).
- Paste the folder into the
/ensemble/appsdirectory you created.
Option 2: Obtaining Artifacts from the Desktop App
To obtain local artifacts from the Desktop app, pull the app directly into the /ensemble/apps folder in your local directory where you cloned the Ensemble Starter.
Follow this guide to pull the app from the Desktop app.
Once obtained, copy and paste the downloaded folders into the /ensemble/apps folder you created.
The downloaded app will already have the following structure:
<project-path>/
├── assets/
├── fonts/
├── scripts/
├── widgets/
├── screens/
├── translations/
├── config/
│   ├── appConfig.json
│   ├── secrets.json
├── theme.yaml
├── .manifest.json
Step 4. Update your app to read the definitions locally
In your local directory where you cloned Ensemble Starter, open /ensemble/ensemble-config.yaml file with your desired code or text editor and make the following updates:
- At the top, set
from: localunderdefinitions:
definitions:
  # where your page definitions are hosted ('local', 'remote' or 'ensemble')
from: local- Then set the
appIdandappHomeproperties underlocal
  local:
    path: ensemble/apps/<your-app-name>
    appId: myApp   # this is the name of the folder you created in step 1
appHome: MyHomeScreen # this is the name of the screens that should be rendered first when your app id launched- Under
i18nupdate thepathto match your app’s nameensemble/apps/yourAppName/translations.
    i18n:
      # Directory where all the translation files (e.g. en.yaml, es.yaml) reside.
      # Translation will be disabled without the path.
      path: ensemble/apps/helloApp/translations/
Step 5. Update starter pubspec.yaml
Add the necessary paths under flutter -> assets to ensure your app loads all required files and folders correctly:
flutter:
  assets:
    # list all your Apps directories here. It's a Flutter requirement
    - ensemble/apps/`<your-app-name>`/
    - ensemble/apps/`<your-app-name>`/screens/
    - ensemble/apps/`<your-app-name>`/widgets/
    - ensemble/apps/`<your-app-name>`/scripts/
    - ensemble/apps/`<your-app-name>`/assets/
    - ensemble/apps/`<your-app-name>`/translations/

    # # config folder contains appConfig.json and secrets.json
    - ensemble/apps/`<your-app-name>`/config/
NOTE: Only add the existing paths under assets and replace <your-app-name> with the name of you app folder.
5. Rebuild your app
Now you can follow the steps for iOS or Android to run the app locally or build and upload your app to the respective app stores.